Have you ever been fascinated by UFOs and the advanced technology they are believed to possess? If so, you’re in luck because this article is going to provide you with a helpful guide on how to build your own UFO technology models. Whether you’re a hobbyist or a curious enthusiast, this step-by-step guide will walk you through the process of creating realistic and detailed models that will be sure to spark conversations and ignite your imagination. Get ready to embark on an exciting journey as we explore the world of UFOs and bring them to life through the art of model building.

Materials and Equipment
Choosing the Right Materials
When it comes to building your own UFO technology model, choosing the right materials is crucial to ensure a successful and enjoyable project. Consider the durability, weight, and cost of the materials, as well as their availability. Common materials used in UFO model construction include foam, wood, plastic, and metal. Each material has its own advantages and disadvantages, so take your time to research and select the one that best suits your needs and budget.
Essential Tools
To bring your UFO technology model to life, you’ll need a few essential tools. These tools include a sharp cutting knife, such as an X-Acto knife, for precision cuts, as well as a ruler and measuring tape to ensure accurate measurements. Other essential tools may include a drill, sandpaper, an adhesive such as glue or epoxy, and a variety of brushes for painting and finishing. Having these tools ready before you start building will make the process much smoother.
Optional Equipment
While not necessary, there are some optional equipment that you may find useful during the construction process. These include a hot wire cutter for shaping foam, a soldering iron for wiring and circuitry, and a Dremel tool for intricate detailing. These tools can add an extra level of precision and functionality to your UFO model, but they are by no means required. Consider your budget, skill level, and desired level of detail when deciding whether or not to invest in these additional tools.
Research and Planning
Gathering Information
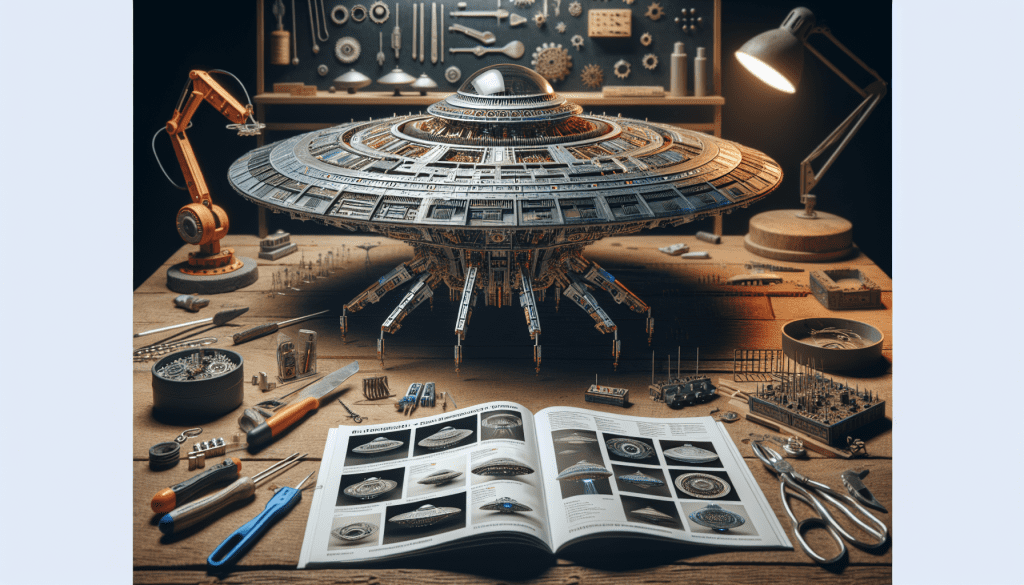
Before diving into the construction of your UFO technology model, it’s important to conduct thorough research. Look for reference materials such as books, online resources, and photographs of UFOs to gain a better understanding of their design and features. Study different UFO models and real-life aircrafts to gather inspiration and ideas for your own creation. This research phase will help you make informed decisions during the construction process and ensure that your model resembles the real deal.
Selecting a UFO Model
With the wealth of UFO designs available, it can be a bit overwhelming to choose the perfect model for your project. Consider factors such as the size, shape, and level of complexity you’re comfortable with. Some popular UFO models include the classic disc-shaped saucer, triangular craft, and cylindrical crafts. Take into account your own personal preference and the amount of time you’re willing to invest in the construction process.
Designing the Blueprint
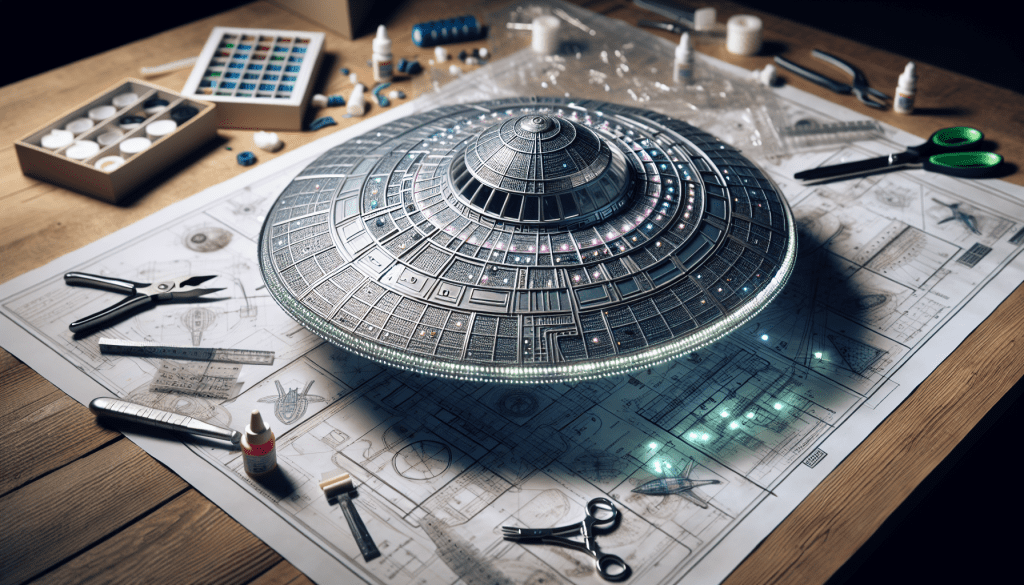
Once you’ve chosen a UFO model, it’s time to create a detailed blueprint of your design. Start by sketching out the basic shape and dimensions of your UFO on paper. Include any additional features you want to incorporate, such as lights, antennas, or landing gear. This blueprint will act as your guide throughout the construction process, helping you stay organized and focused. Make sure to take accurate measurements and double-check your proportions to ensure a visually pleasing final result.
Creating a Project Timeline
To keep yourself motivated and on track, it’s helpful to create a project timeline. Break down your construction process into smaller tasks and assign timeframes to each one. This will help you manage your time effectively and ensure that you’re progressing steadily towards completing your UFO model. Be realistic with your timeline and allow for unexpected delays or challenges that may arise. Remember, building a UFO model is a creative and enjoyable process, so don’t rush yourself and enjoy every step of the way.
Building the Base Structure
Selection of Base Material
The base structure of your UFO model sets the foundation for the entire project. When selecting a base material, consider factors such as weight, strength, and ease of manipulation. Foam boards are a popular choice due to their lightweight nature and ease of cutting. However, if you’re looking for a more sturdy base, consider using wood or plastic sheets. Ultimately, the material you choose will depend on your personal preference and the overall design of your UFO model.
Cutting the Base Material
Once you have your base material, it’s time to cut it into the desired shape. Using your sharp cutting knife or hot wire cutter, carefully cut along the lines of your blueprint. Take your time and make sure to follow your measurements accurately for precise cuts. If using foam, consider using a hot wire cutter to create smooth and clean edges. For wood or plastic, a sharp cutting knife will do the job. Remember to prioritize safety by wearing protective goggles and keeping your fingers away from the cutting edge.
Assembling the Basic Structure
With your base material cut into the desired shape, it’s time to assemble the basic structure of your UFO model. Depending on your design, this may involve joining multiple pieces together using glue, screws, or other fastening methods. Take care to align and secure each piece properly to ensure stability. Don’t rush this step, as a strong and well-assembled base structure is crucial for the overall integrity of your UFO model. Take breaks between assembly steps to allow the adhesive to fully dry or set before moving on.

Integrating Power Systems
Selecting Power Sources
Powering your UFO model is an important aspect of the construction process. Choose the right power sources based on the size and functions of your model. Some common power sources include batteries, such as rechargeable lithium-ion or alkaline batteries, or even small solar panels for renewable energy. Consider the voltage requirements of any lights or motors you plan to install, and ensure that your chosen power sources are compatible.
Wiring and Circuitry
To ensure proper functioning of the various electrical components in your UFO model, you’ll need to handle wiring and circuitry. Start by sketching a wiring diagram that outlines the connections between different components. Use appropriate wires for each connection, taking into account factors such as gauge and insulation. Properly insulate and secure your connections to prevent shorts or loose connections. If you’re new to electrical work, consider seeking advice from experts or referring to online tutorials to ensure safety and reliability.
Installing Motors
If you plan on giving your UFO model the ability to move, installing motors is key. Research different types of motors, such as DC motors or servo motors, based on the movement you want to achieve. Consider factors like speed, torque, and power consumption when selecting the appropriate motors for your project. Take great care in properly installing and securing the motors, as their performance will greatly influence the functionality of your UFO model.
Creating the Outer Shell
Choosing the Shell Material
The outer shell of your UFO model is what gives it its distinct appearance. Choosing the right shell material is crucial for achieving the desired look and durability. Options include materials like plastic, fiberglass, or even lightweight metals like aluminum. Consider the weight, cost, and ease of working with each material before making a decision. Additionally, take into account the overall design and purpose of your UFO model. Research different finishing techniques specific to the chosen material to achieve a polished and professional look.
Cutting and Shaping the Shell
With the shell material selected, it’s time to cut and shape it to fit your UFO model. Using your cutting knife or appropriate tools, carefully cut out the required pieces from the material based on your blueprint. Take your time and make precise cuts to ensure the shell pieces fit together seamlessly. If necessary, use sandpaper or files to refine the edges and achieve a smooth finish. Remember to wear protective goggles and take breaks to avoid unnecessary fatigue.
Joining the Shell Pieces
Once your shell pieces are cut and shaped, it’s time to join them together. Depending on the chosen material, this could involve methods such as solvent bonding, heat welding, or mechanical fastening. Follow the manufacturer’s guidelines for the specific material you’re working with to ensure a strong and secure bond. Take care to align the pieces properly and apply pressure evenly during the joining process. Allow sufficient curing or drying time before moving on to the next step.
Installing Lights and Effects
LED Lights and Wiring
Adding LED lights to your UFO model can greatly enhance its visual appeal. Begin by determining the desired locations for the lights on your model. Plan the wiring path to ensure a clean and organized appearance. Install LEDs and connect them using appropriate wires, taking into account factors such as voltage, current, and color. Consider using resistors or voltage regulators if necessary to ensure proper functioning of the lights. Test the connections before finalizing them to catch any issues early on.
Special Effects Components
To take your UFO model to the next level, consider incorporating special effects components. This could include smoke machines, sound modules, or even motorized features such as retractable landing gear. Research different options and select those that complement your design and personal preferences. Ensure that these components are compatible with your power system and can be controlled effectively. Take your time during the installation process to properly integrate these special effects into your UFO model.
Testing and Troubleshooting
Before you finish the installation of lights and special effects, it’s important to conduct thorough testing and troubleshooting. Check that all components are functioning as intended and identify and fix any issues that arise. Test each light, effect, or motor individually to ensure smooth operation. Double-check all wiring connections and inspect for any loose or faulty connections. Troubleshoot any problems systematically, referring to your wiring diagram and any user manuals or guides provided with the components.
Adding Fine Details
Cockpit and Seating
Adding a cockpit and seating to your UFO model can bring it to life. Consider the scale and style of your model when selecting or designing these elements. Craft a cockpit that reflects the design and functionality of a real spacecraft while accommodating the seating arrangement accordingly. Use materials such as foam, plastic, or even resin to create realistic seating and control panels. Ensure that the cockpit area is properly sized and accessible, allowing for easy placement of figures or miniatures if desired.
Control Panels and Instruments
To create a realistic and functional UFO model, don’t forget to include control panels and instruments. Research and gather inspiration from existing spacecraft layouts to design your control panels. Consider incorporating buttons, switches, and displays to mimic the appearance of advanced technology. Use a combination of printed decals, custom-made buttons, and lighting effects to give your control panels an authentic look. Take your time during the installation process to ensure that each instrument is properly positioned and secured.
Decoration and Customization
Once you have the basic structure and functional elements in place, it’s time to focus on decoration and customization. This is your opportunity to add personal touches and make your UFO model truly unique. Consider painting the base structure and outer shell in colors and patterns that reflect your chosen design. Add decals or stickers to simulate logos or markings. Explore additional details such as antennas, sensors, or even miniature figures to enhance the overall appearance. Have fun with this step and let your creativity shine.
Painting and Finishing
Surface Preparation
Before painting your UFO model, proper surface preparation is essential for achieving a polished finish. Start by sanding any rough edges or imperfections on the base structure and outer shell. Remove any dust or debris using a clean, damp cloth. If necessary, apply a primer or surface conditioner to ensure better adhesion of the final coats of paint. Take care to mask or protect any areas that should not be painted.
Primers and Base Coats
Once your surface is properly prepared, it’s time to apply primers and base coats. Primers help create a smooth surface for the paint and improve its adhesion. Select a suitable primer based on the material you’re working with. Apply thin, even coats and allow sufficient drying time between each coat. Once the primer is dry, apply a base coat of paint in the desired color. Use a suitable paintbrush or spray paint for larger surfaces to achieve a consistent and even finish.
Painting Techniques
Painting your UFO model is where you can truly bring it to life. Consider using techniques such as dry brushing, airbrushing, or sponge application to add depth and texture to the surfaces. Experiment with different colors, shades, and gradients to achieve a realistic and eye-catching result. Don’t be afraid to mix and match paint types, such as metallic, matte, or glossy, to achieve the desired effect. Take your time, be patient, and remember to allow each layer to dry before moving on to the next.
Weathering and Aging Effects
To add authenticity and character to your UFO model, consider incorporating weathering and aging effects. This can be done by applying washes, dry brushing, or using specialized weathering powders or pigments. Focus on areas that would naturally experience wear and tear, such as corners, edges, and exposed surfaces. Experiment with different techniques and colors to achieve a weathered look that suits your design. Be sure to seal the final finish with a clear coat to protect the paint job and maintain its appearance over time.
Incorporating Movement
Mechanical Systems
If you wish to incorporate movement into your UFO model, mechanical systems will be essential. Research different mechanisms such as gears, linkages, or servos to achieve the desired movement. Consider the weight and size of your model to select appropriate mechanical components. Plan the integration of these systems into the base structure and shell of your model accordingly. Take your time during the installation process and conduct thorough tests to ensure smooth and reliable movement.
Remote Control Options
To control the movement of your UFO model, consider incorporating remote control options. This could include using simple switches, radio-frequency transmitters, or even smartphone apps. Research and select a suitable remote control system that works with your chosen mechanical systems. Consider factors such as range, ease of use, and compatibility when making your selection. Ensure that you have proper knowledge of the chosen remote control system or seek guidance from experts to ensure successful integration.
Implementing Flight Capabilities
For those looking to take their UFO model to the skies, implementing flight capabilities is an exciting challenge. Consider the weight, balance, and aerodynamics of your model when selecting the flight components. Research and choose from options such as propellers, helicopter-style rotors, or even jet engines. Ensure that your chosen power system can handle the increased demands of flight. Take safety precautions seriously and follow guidelines provided by regulatory authorities. Enjoy the thrill of seeing your UFO model take flight, but remember to keep it within safe flying areas and abide by all relevant rules and regulations.
Testing and Adjustments
Safety Precautions
Before conducting any tests on your UFO model, it’s important to prioritize safety. Ensure that all electrical components, motors, and moving parts are properly secured and insulated. Take necessary precautions to prevent electrical shocks or accidents. Verify that the power sources are safely connected and isolated from the rest of the model. Prioritize safety while testing the flight capabilities and consider seeking professional guidance if needed. Always test your UFO model in a controlled and open area, away from people or sensitive structures.
Flight Stability Tests
If your UFO model is designed to fly, it’s crucial to conduct flight stability tests. Begin with low-altitude and short-duration flights to evaluate the stability and balance of your model. Observe its flight pattern, responsiveness to controls, and overall flying characteristics. Make any necessary adjustments to the weight distribution or control surfaces to optimize stability. Gradually increase the complexity and duration of the flights as you gain confidence in the model’s performance. Continued testing and adjustments will ensure that your UFO model achieves the desired flight capabilities.
Fine-tuning the Mechanics
Throughout the testing process, you may encounter minor issues or areas for improvement in the mechanics of your UFO model. Fine-tune the mechanical systems, such as motors, servos, or linkages, to optimize their performance. Make necessary adjustments to improve the smoothness of movement, reduce noise, or increase reliability. Consult the manuals or seek guidance from experts if needed. Remember that patience and attention to detail are key to achieving a well-functioning and enjoyable UFO model.
Building a UFO technology model can be a rewarding and engaging experience. By carefully selecting materials and equipment, conducting thorough research, and following step-by-step instructions, you can create a unique and impressive model that showcases your creativity and skill. Remember to enjoy the process and don’t be afraid to make adjustments along the way. Happy building!

